
Upload Notices to Cerenade
How to upload a notice and run Cerenade automation through ClerqLegal, and optionally send client emails along the way.
-
Set up the Clerq extension and sign in
Add the ClerqLegal Automation Engine extension to Chrome: ClerqLegal Automation Engine on the Chrome Web Store. Then make sure you are signed in to Cerenade in the same browser before you upload.
-
Upload your document
In the sidebar, open Upload Documents. Drop your notice PDF onto the upload area or click to browse. PDF only · max 500 MB per file · up to 20 files.
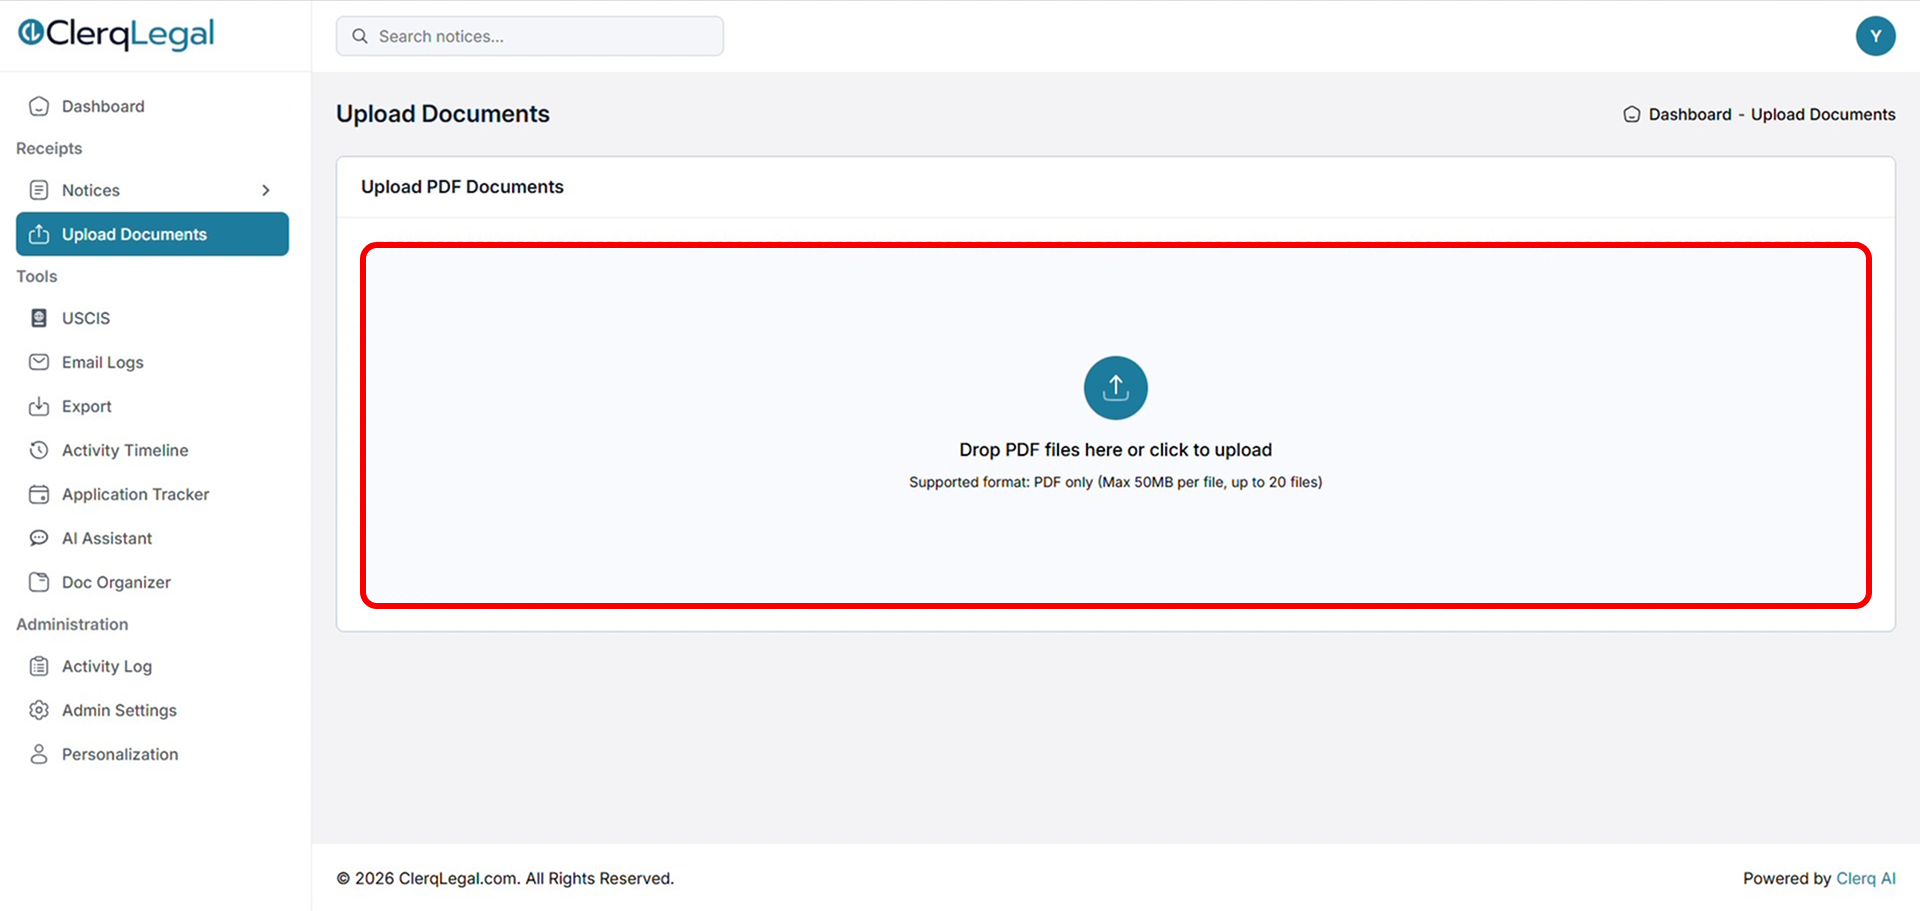
Upload Documents: drop a PDF or click to upload. -
Run the Cerenade automation
Go to Notices → Unprocessed Notices. Your notice appears with the status Awaiting Upload. Click the Automation button to upload it to Cerenade. Once it finishes, the status changes to Processing Complete.
.png)
Unprocessed Notices: "Awaiting Upload", with the Automation button. -
Check for notices that need attention
When automation finishes, most notices upload automatically and move to Processed. Watch the Status column, though. Any notice ClerqLegal couldn't confidently match is flagged Needs Attention and left in the list. Open that notice (click its name, or the edit icon under Actions) to review and fix it in the next step.
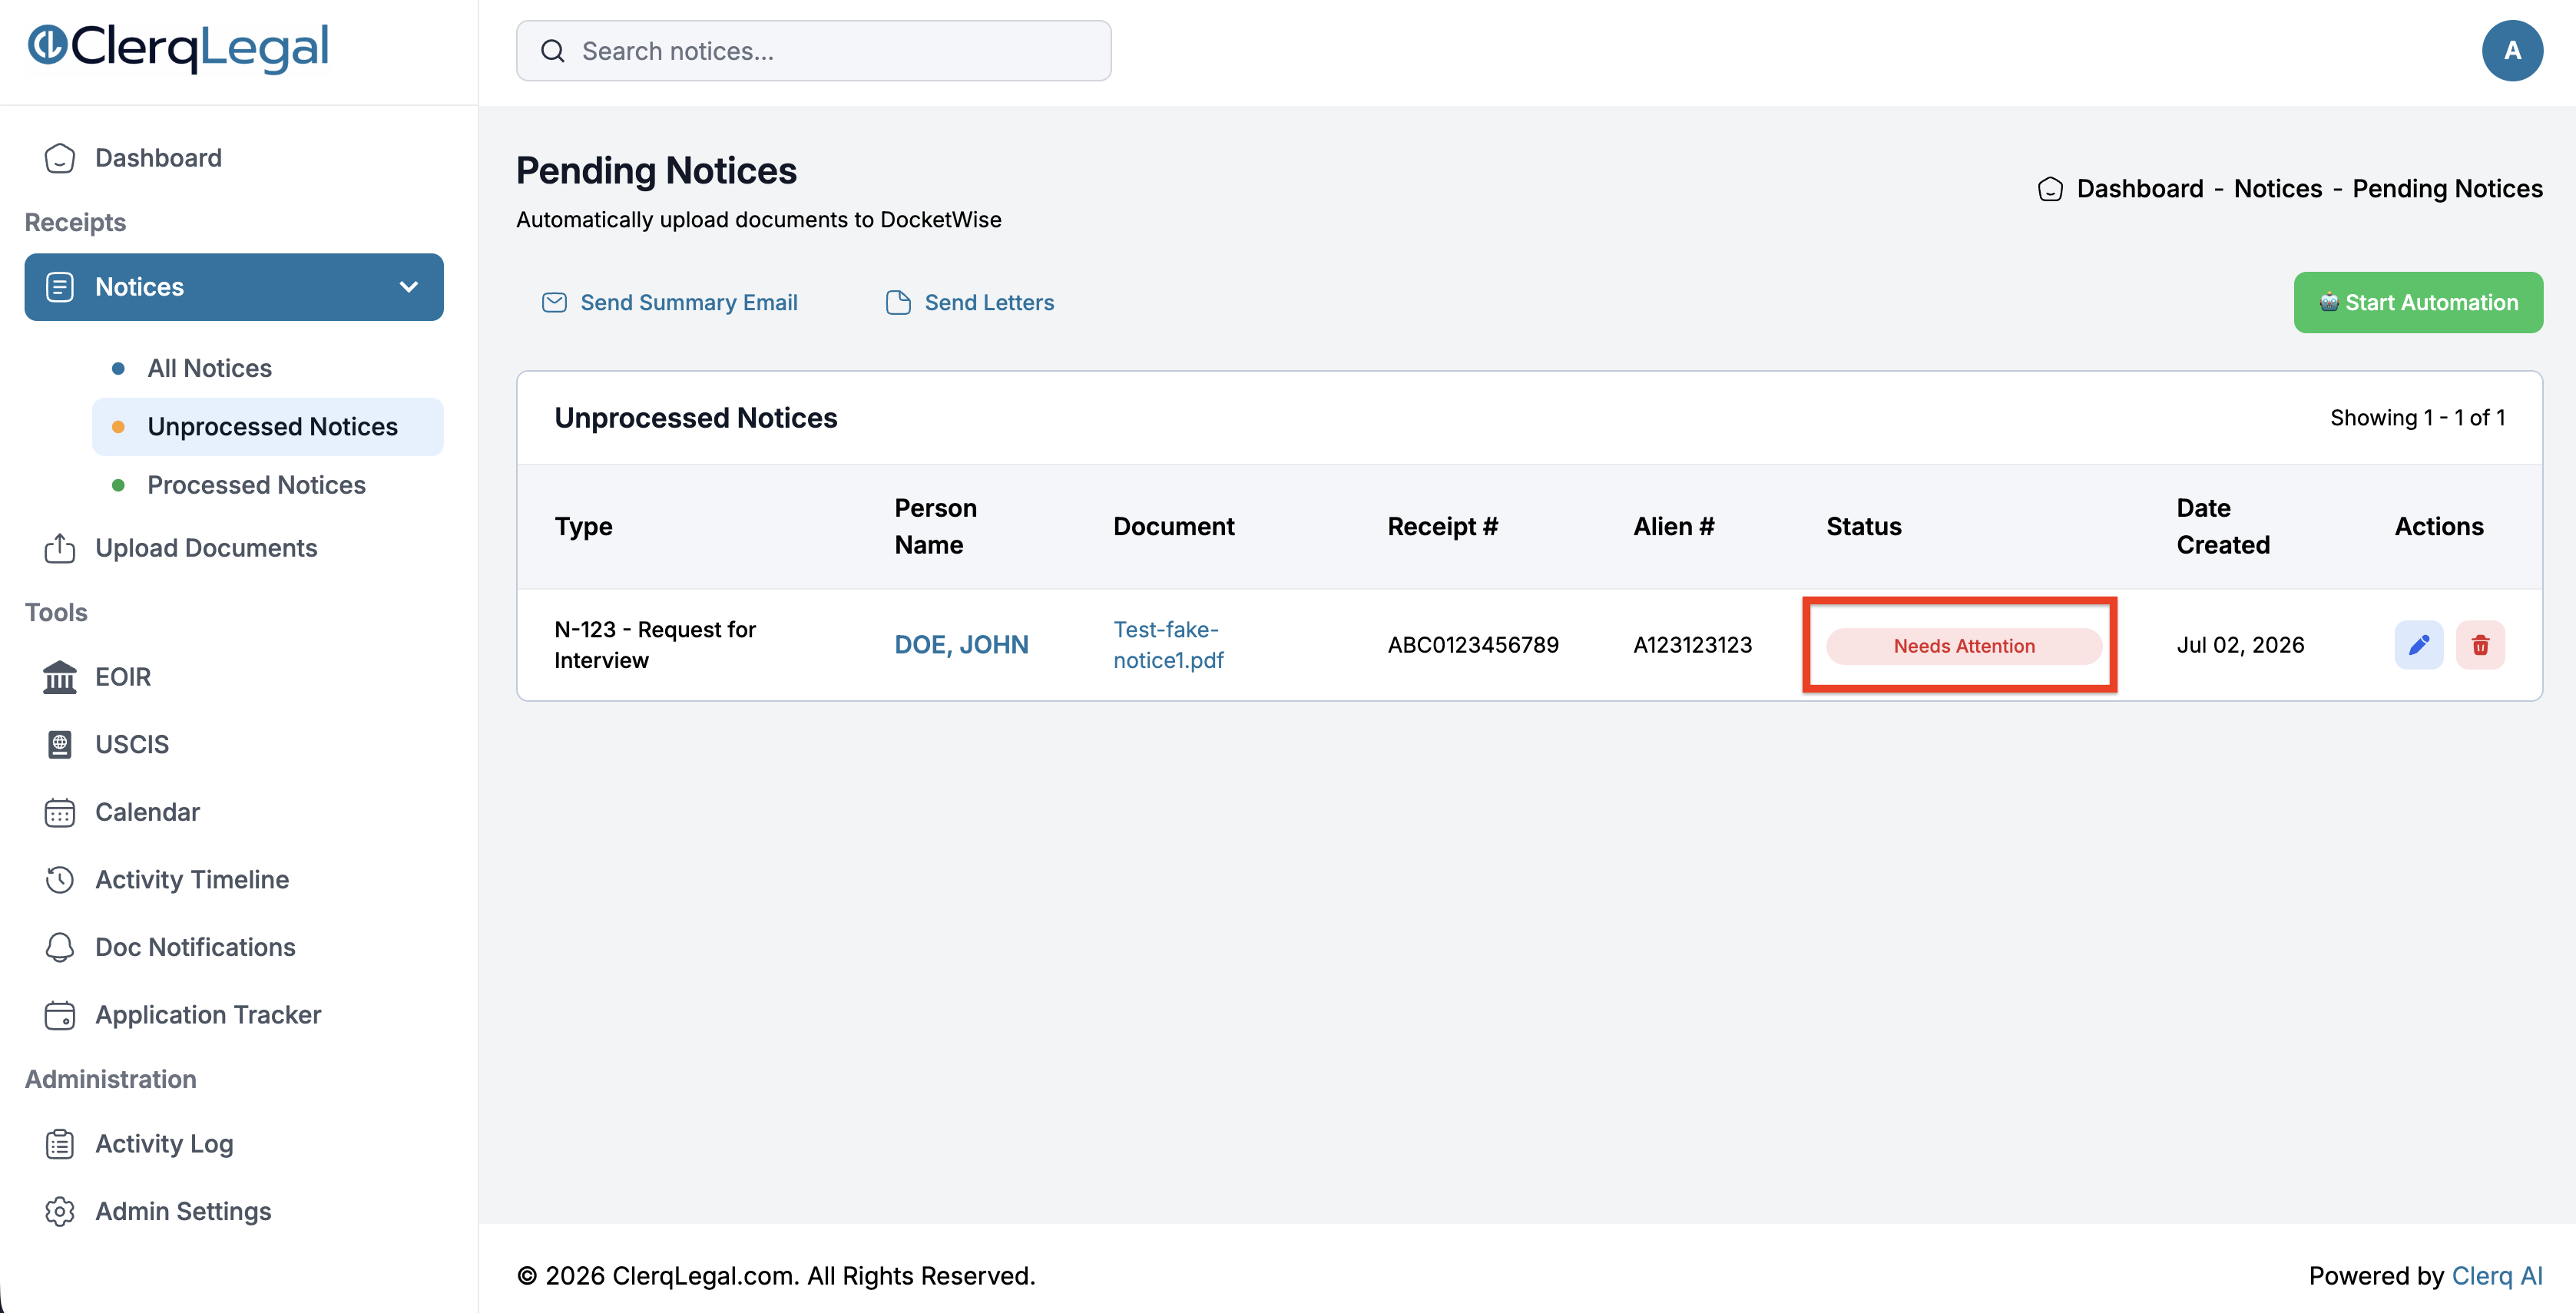
A notice flagged Needs Attention after automation: open it to review the details. -
Review the event details
Open a notice to see its Event Details. Review the extracted information, click View Document to check it against the source PDF, and confirm the matched client and matter. If the wrong person was matched, click Change Contact. Notices that still need a decision are flagged Needs Attention.
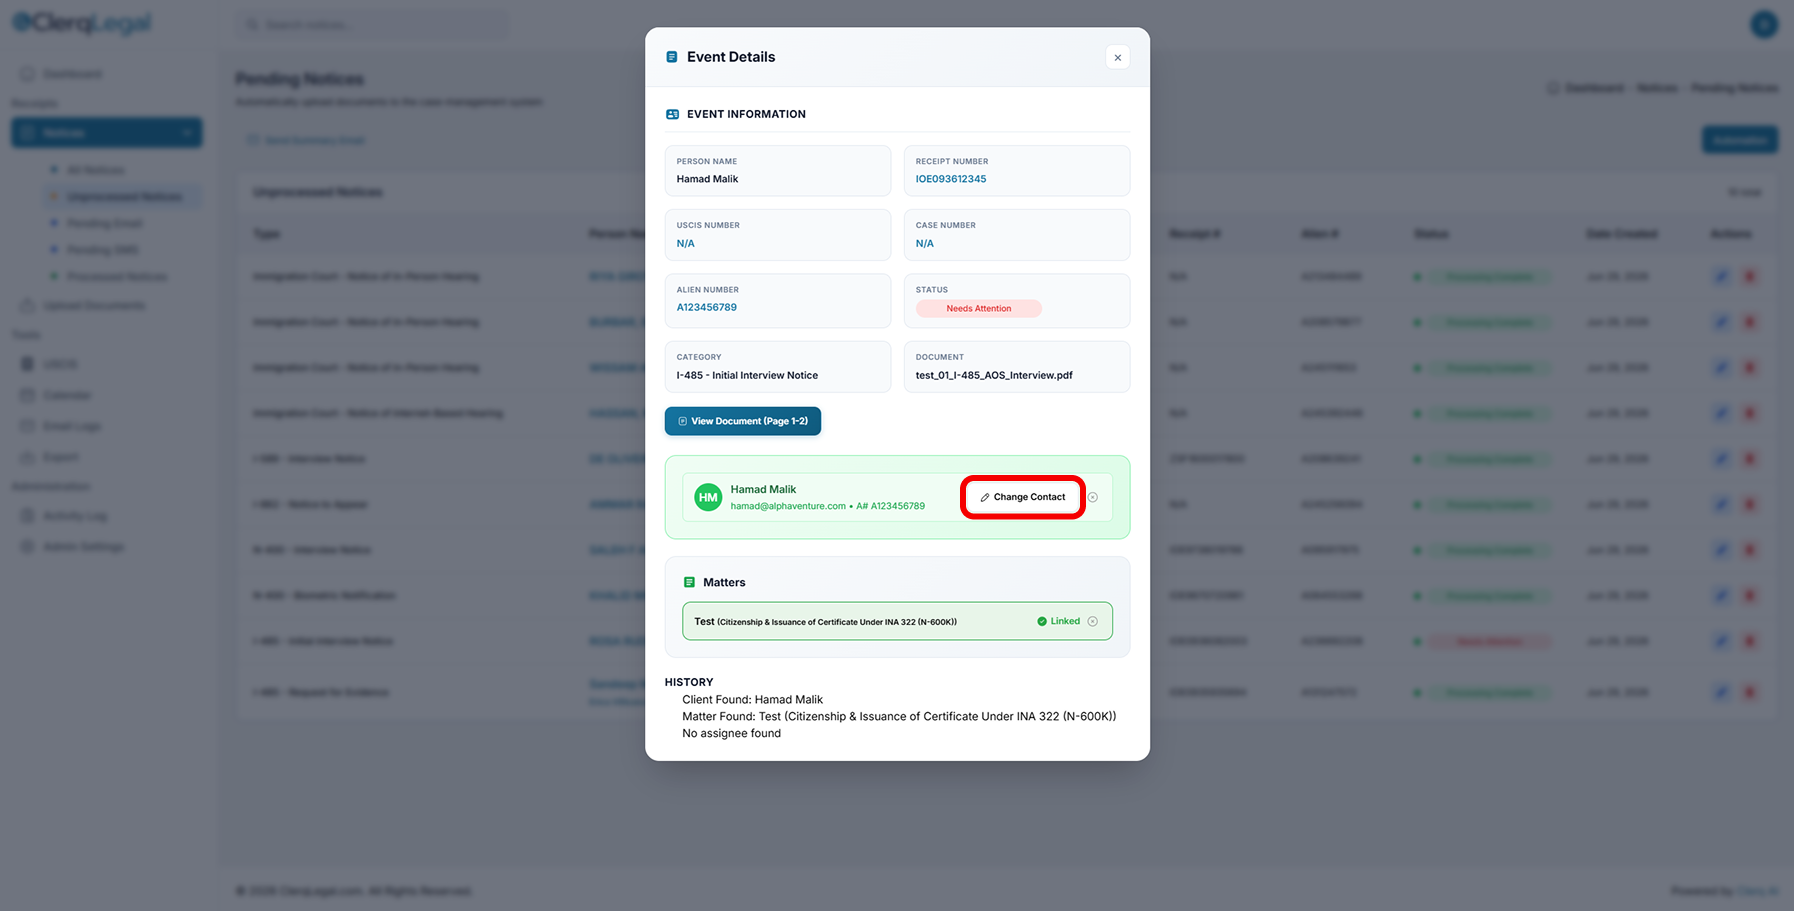
Event Details: review the matched client and matter, or click Change Contact to fix a wrong match.
Optional: Send emails through ClerqLegal
-
Generate and send the emails
Click Send Emails, choose the contacts and languages you want, then click Generate All Emails. Review the drafts, then click Send Selected Emails, or click Skip to handle a client manually.
Important
Notices only disappear from Pending Notices once you either send the email or skip it.
 Google Drive
 OneDrive
 Edit email templates
 Manage calendar rules