
Connect Google Drive
Connect your Google Drive, choose where notices are filed, and upload them straight into the right client folders.
-
Open Google Drive and connect
In the sidebar, open Google Drive → Notices, then click Connect Google Drive.
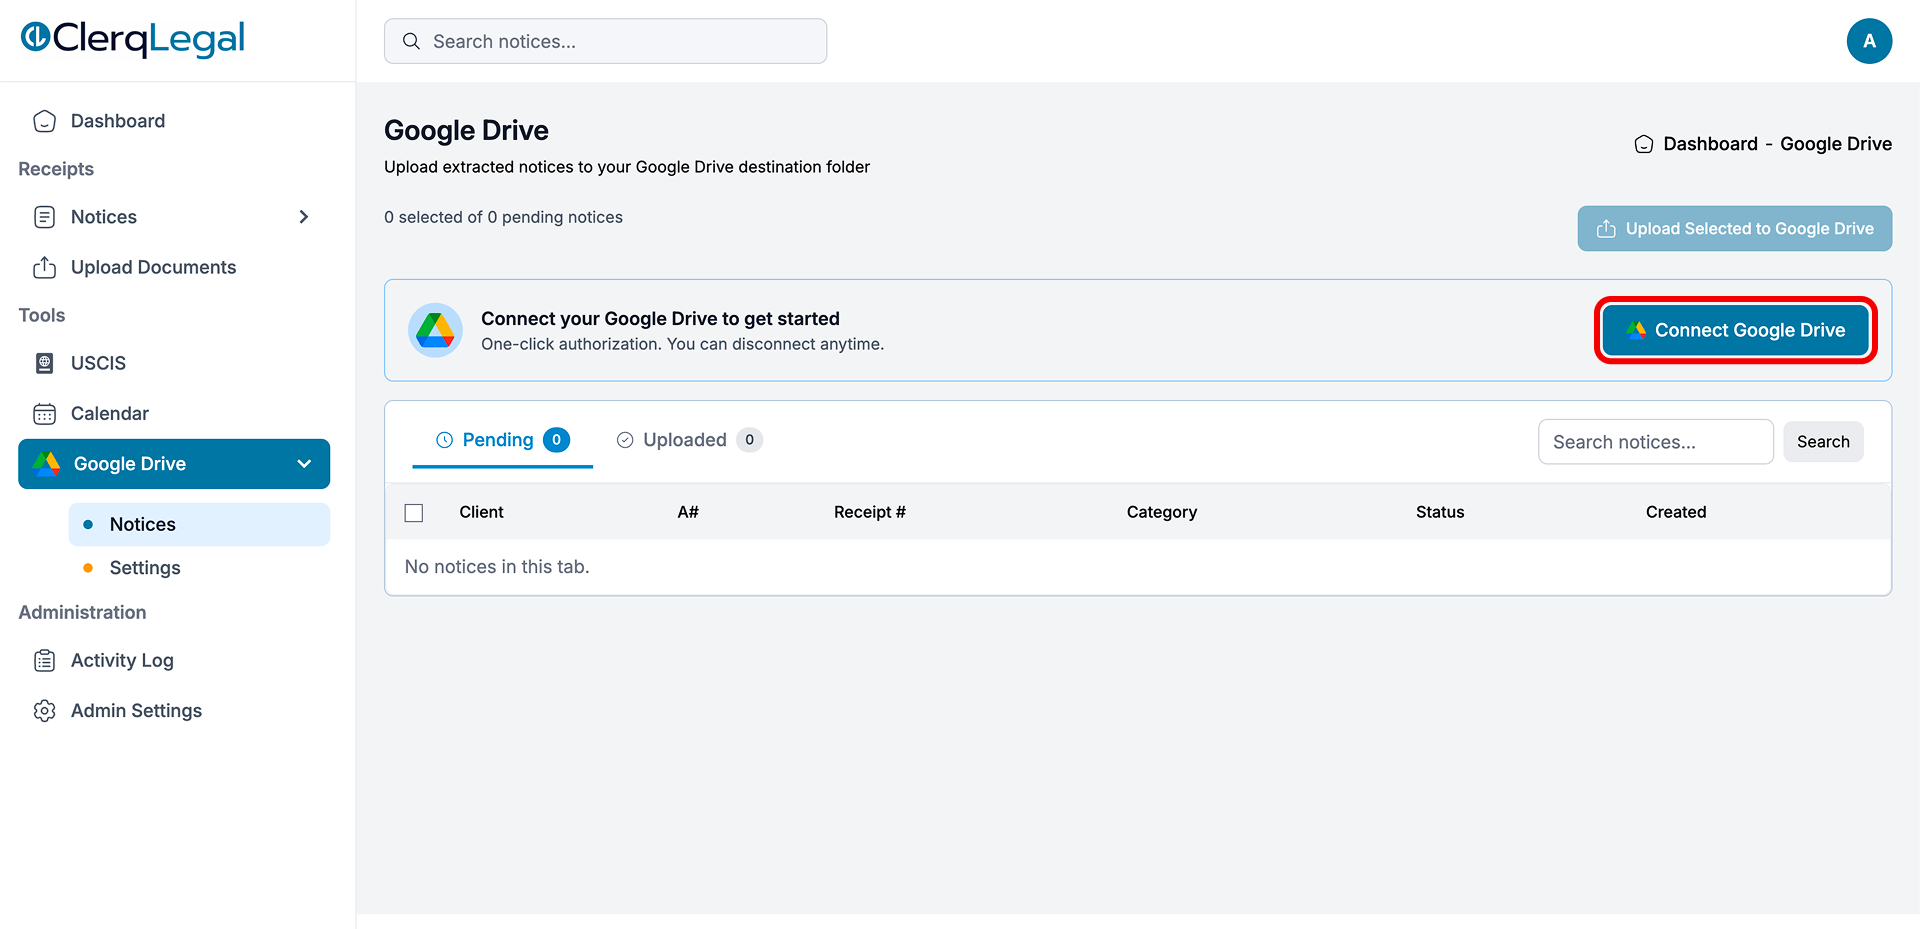
Google Drive → Notices: click Connect Google Drive. -
Authorize ClerqLegal
Sign in to your Google account and click Allow to grant ClerqLegal access to your Drive. Google may show an "unverified app" warning, but it's safe to continue.
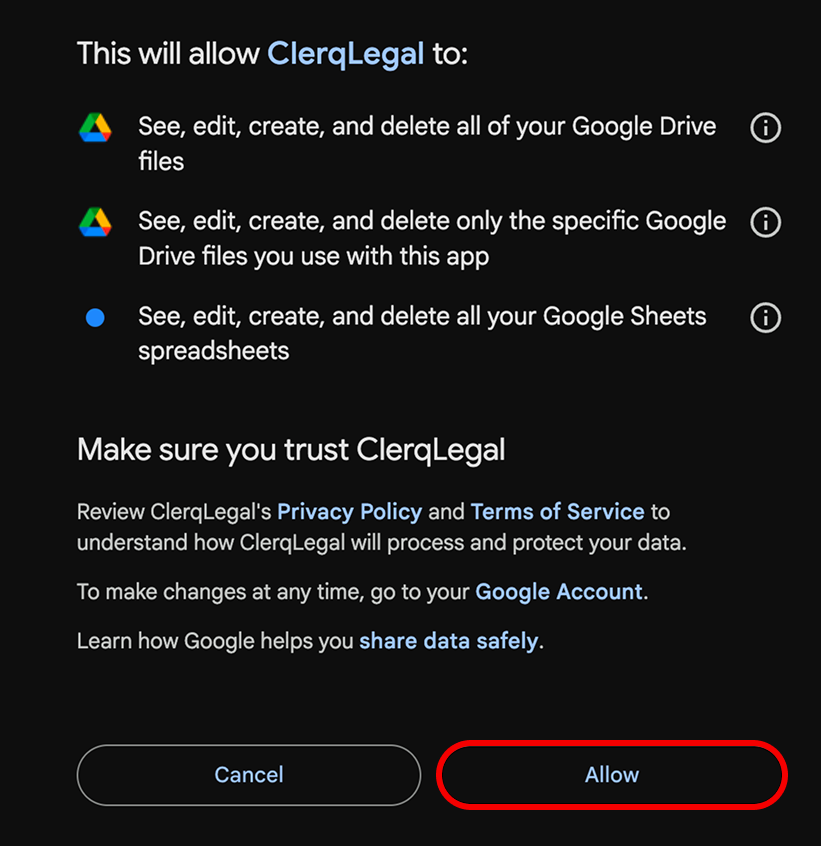
Google consent screen: click Allow. -
Choose your destination
Open Google Drive → Settings. Under Destination, pick Fixed folder (all notices go to one folder) or Search by A-Number / Client Name (auto-match a client folder for each notice). Click Save settings.
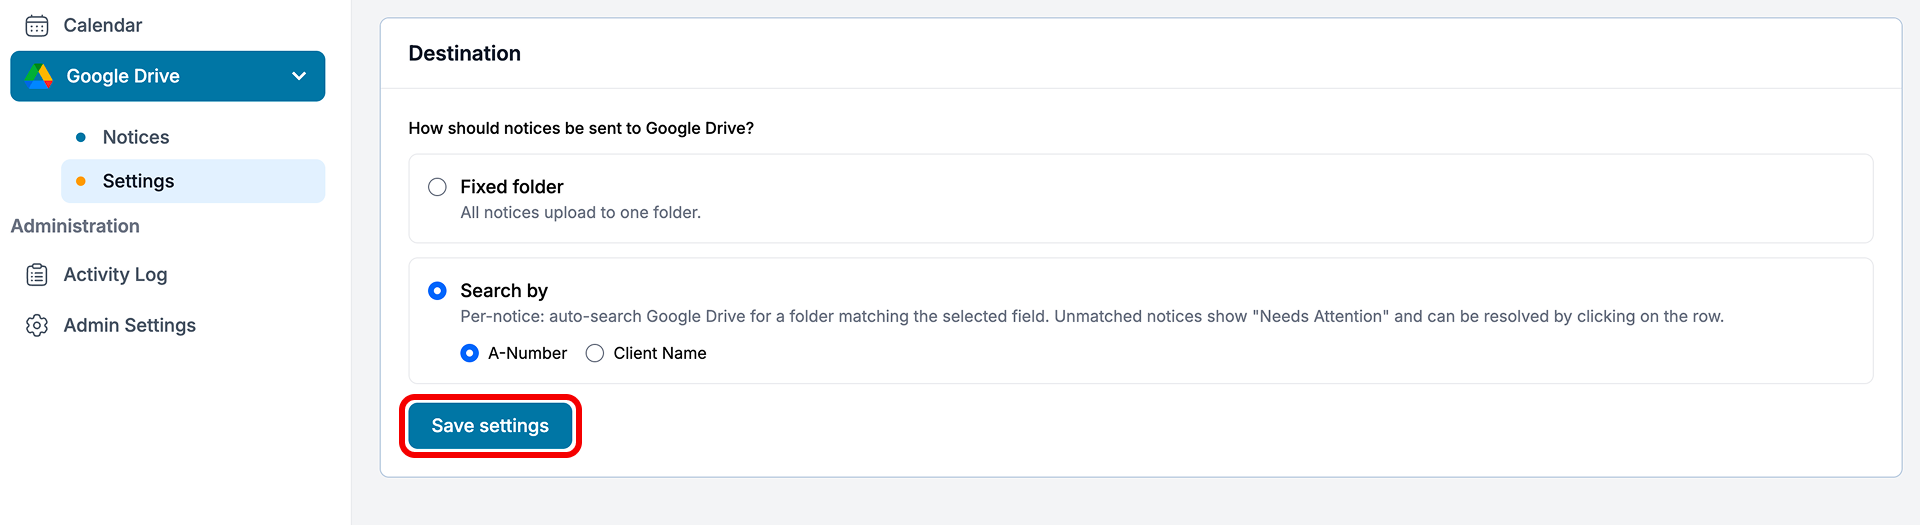
Settings → Destination: choose how notices are filed, then Save settings. -
Upload notices to Google Drive
Back under Google Drive → Notices, select the notices you want and click Upload Selected to Google Drive. Notices that can't be auto-matched show Needs Attention. Click the row to resolve them.
Seeing an error instead of the consent screen?
Email hamad@clerqlegal.com to have your email address whitelisted, then try connecting again.
 OneDrive
 Edit email templates
 Manage calendar rules