
Connect Dropbox
Connect your Dropbox, choose where notices are filed, and upload them straight into the right client folders.
-
Open Dropbox and connect
In the sidebar, open Dropbox, then click Connect Dropbox.
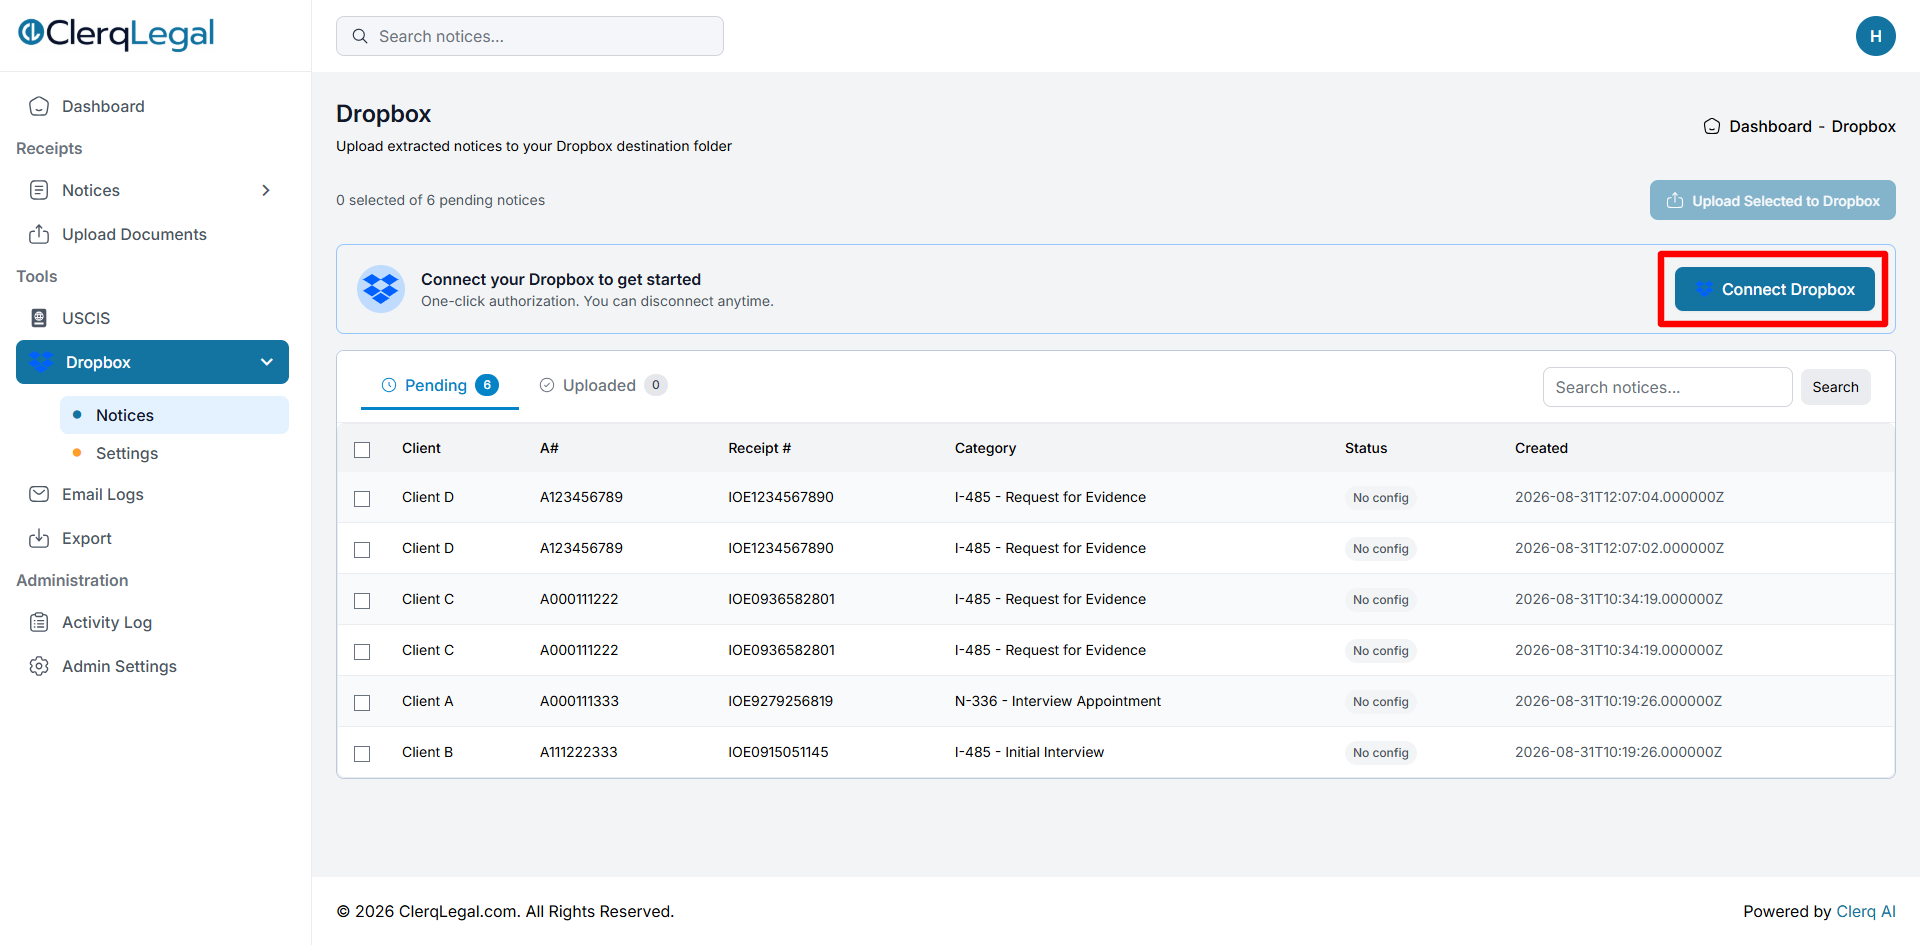
Dropbox: click Connect Dropbox. -
You are connected
ClerqLegal connects to your firm’s Dropbox automatically, so there is no sign-in or permission screen to complete. After a moment the status changes to Connected. ClerqLegal only reads folder names to find the right client folder and writes the notices you choose to upload.
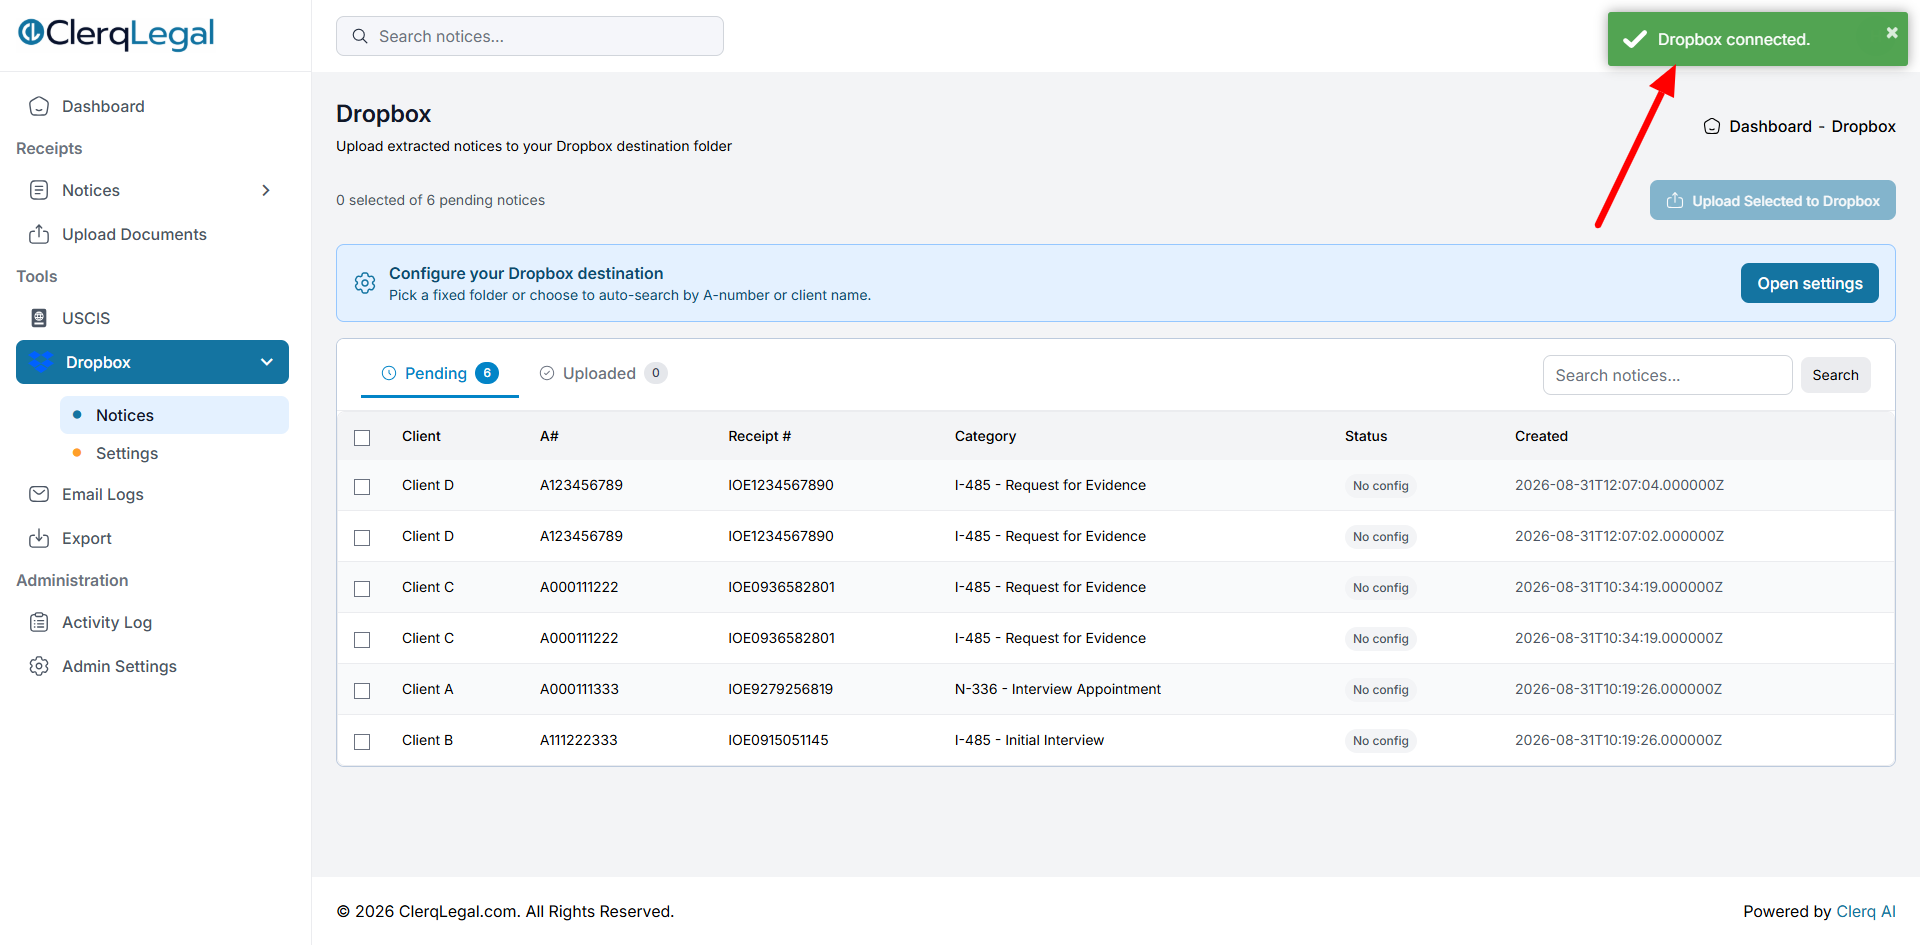
Dropbox page showing the Connected status. -
Open your destination settings
Once connected, the Dropbox page shows your current Mode and pending notices. Click Open settings to choose where notices are filed.
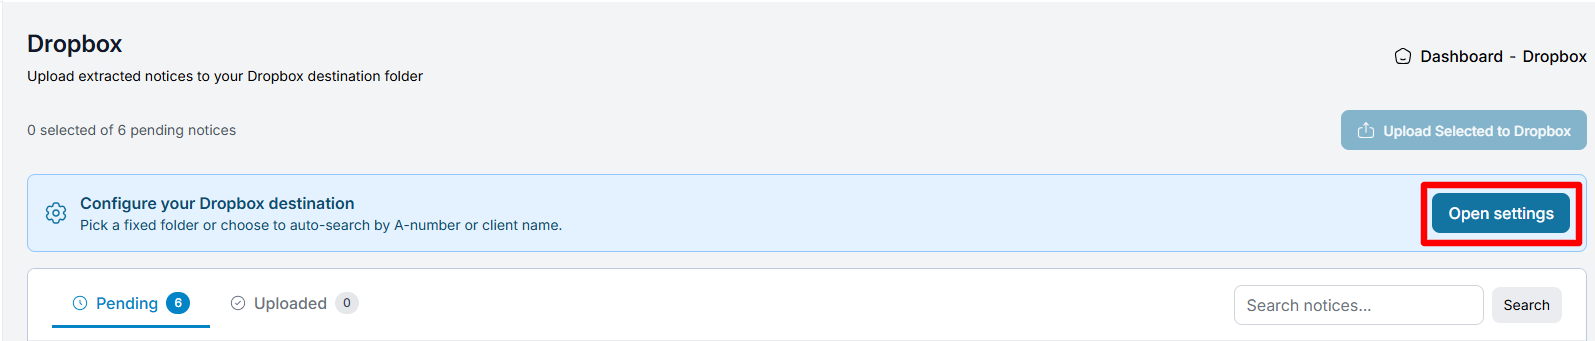
On the Dropbox page, click Open settings. -
Choose your destination
Under Destination, pick Fixed folder (all notices go to one folder) or Search by A-Number / Client Name (auto-match a client folder for each notice). Click Save settings.
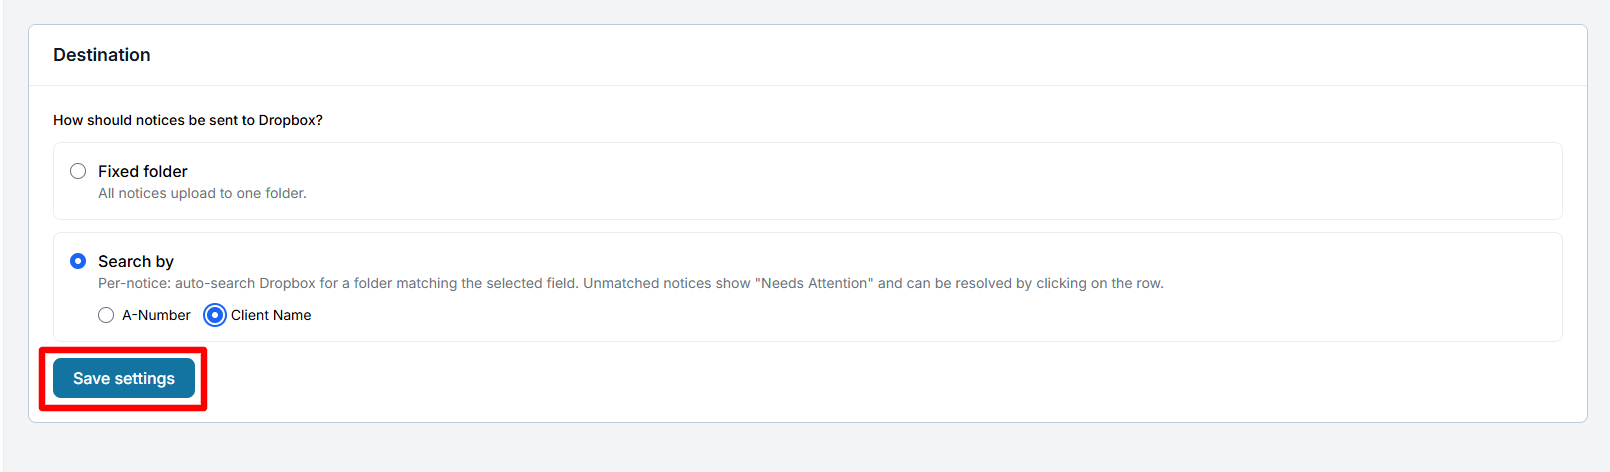
Destination: choose how notices are filed, then Save settings. -
Upload notices to Dropbox
Back on the Dropbox page, select the notices you want and click Upload Selected to Dropbox. Unmatched notices show Needs Attention. Click the row to resolve them.
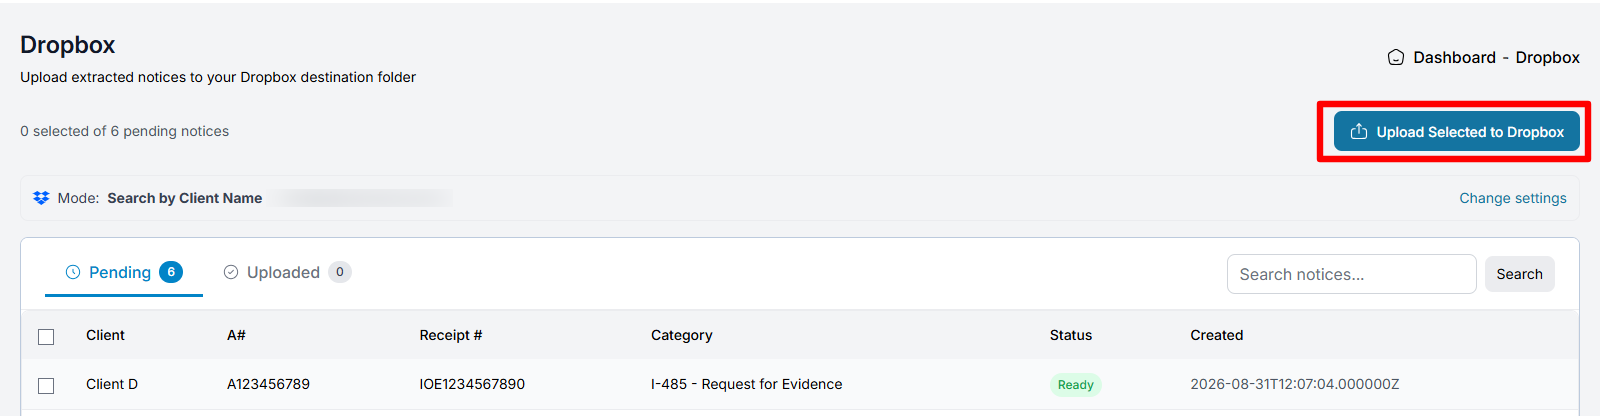
Select notices, then click Upload Selected to Dropbox.
Using a Dropbox Business team folder?
Make sure the account you connect has edit access to the team folder you pick as the destination. If notices fail to upload, ask your Dropbox admin to grant access, then try again.
 Google Drive
 OneDrive
 Connect USCIS
 Set up Gmail forwarding